School Portfolio
Digital Design I
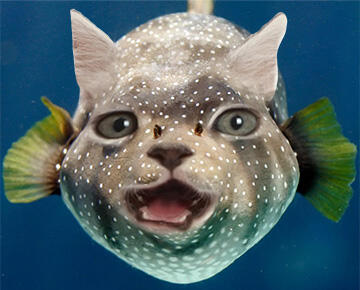
Catfish
Photoshop
I took a fish and lowered the opacity of the kitten picture over top the fish. I used the transform tool to warp and move around the kitten so that the facial features matched the fish. I then erased the cat face and tried my best to work on merging the faces together.
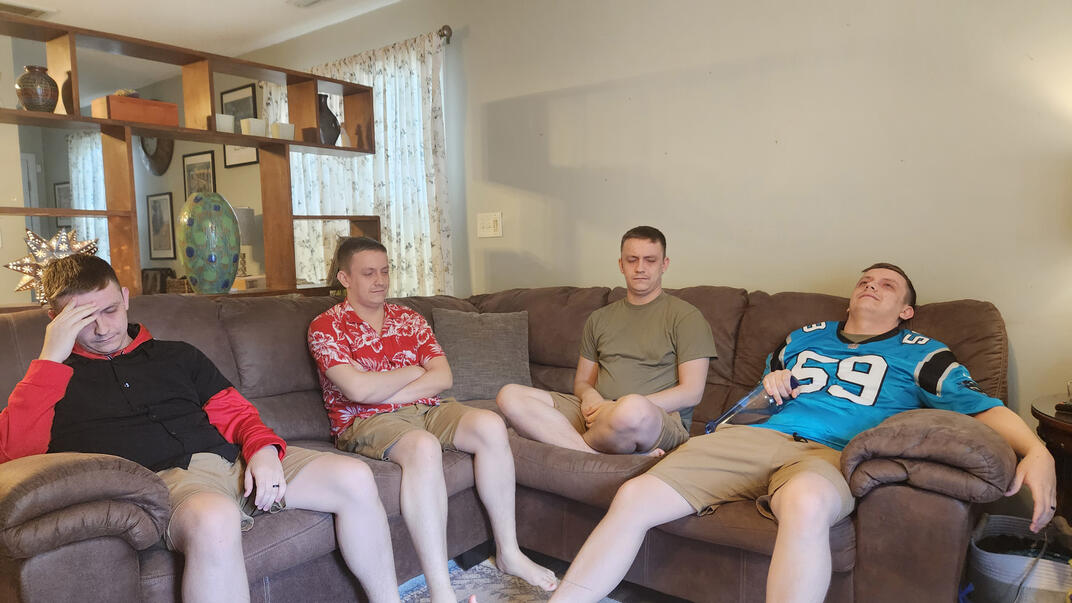
NFC South Couch
Photoshop
I used the select tool to take my husband from pictures of him sitting on the couch and cut out the background so that it looked like he was sitting with himself.
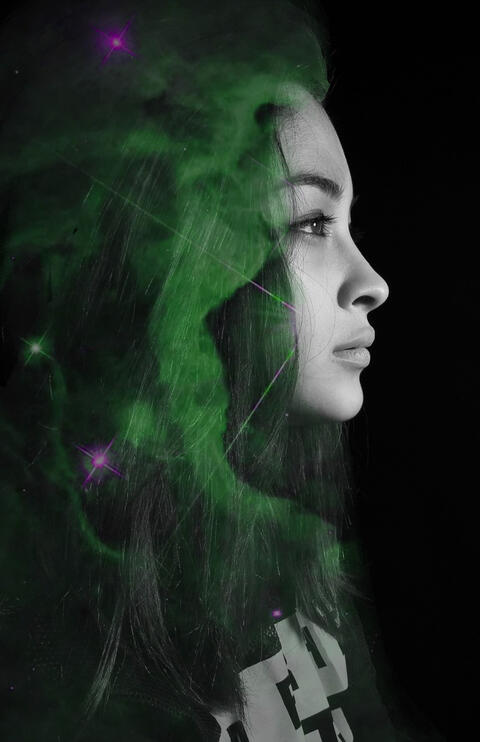
Seeing Green
Photoshop
I selected the hair and body and created a clipping mask so that anything that the galaxy was put on it would eave the face alone. I would then add the embed of the galaxy and tur down the opacity so that you could still see the hair. I then decided to change the hue and saturation as well as the brightness and contrast so that it looked a little brighter.
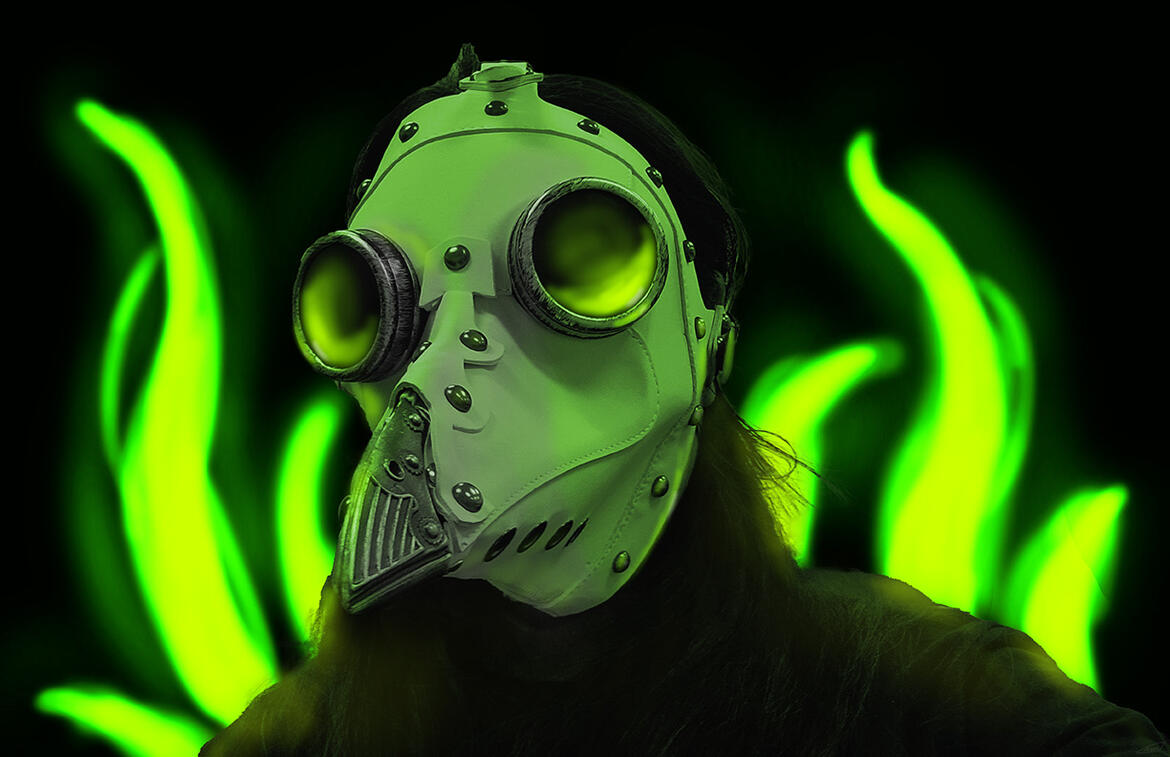
The Doctor Will See you Now
Photoshop
I selected the subject and created a clipping mask so I could work with just the subject. I used an adjustment layer to change the hue and saturation to make the subject black and white. I then used a gradient map to make the blacks a little darker and the whites a little lighter. I used another gradient mask to add the green lighting. I then followed a tutorial to add the lighting in the back. I had a solid color fill layer, a gradient map, and a plain layer to draw the tentacles. I then used another gradient map and plain layer to add even more highlights onto the drawing to really add that there was a glow effect.
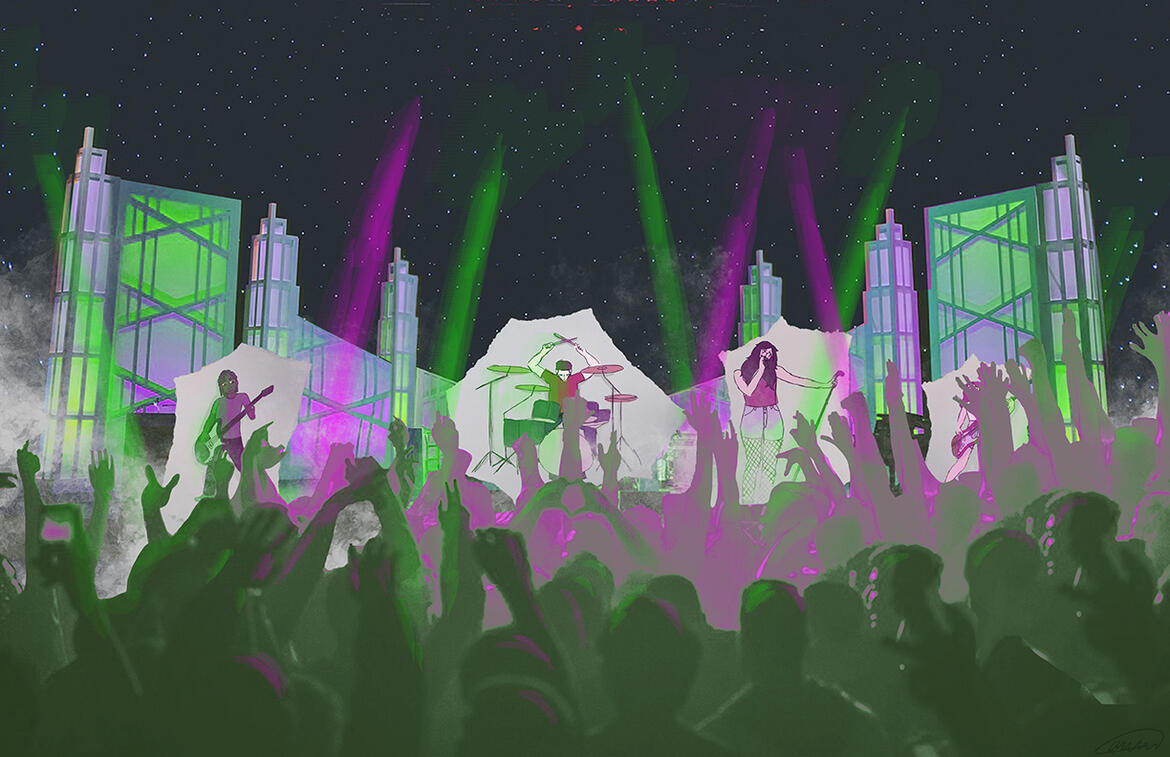
Dawn of the Flowers Concert
Photoshop
I used several pictures to create this collage some are my own and others are not. I pasted everything together and worked to make sure that all the colors matched using the gradient map adjustment layer.
You'll Find Me in Time
Photoshop
I created this piece using the timeline animation window in photoshop. I drew the character and the background as well as the shine are from NASA. I put the images together and worked to make sure that things shrunk and expanded as needed using the transform function on the timeline animation window.
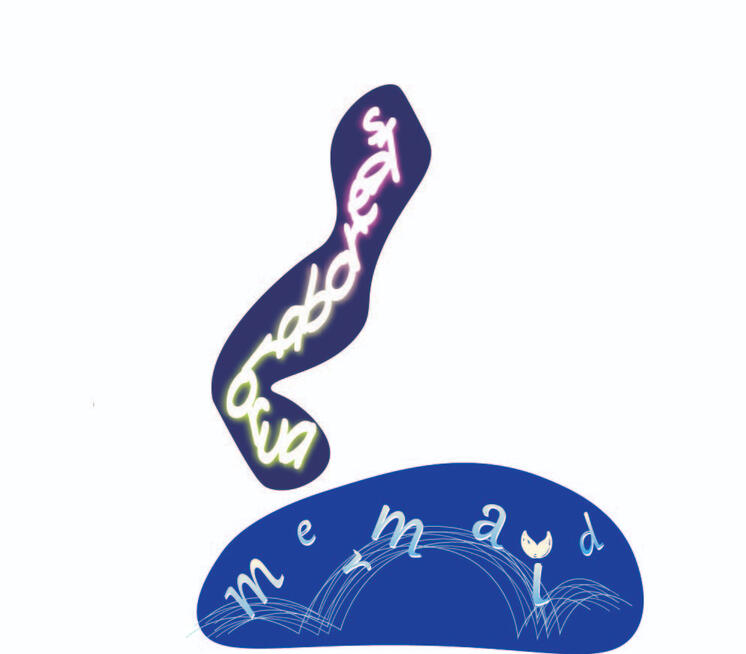
Literal Logo Project
Illustrator
I changed the fonts to these pieces to make logos that sort of reflected their design. With mermaid I changed the size and spread the font about to create the logo. With the auroraborealis I created a glowing effect to the words to make them seems like an actual borealis.
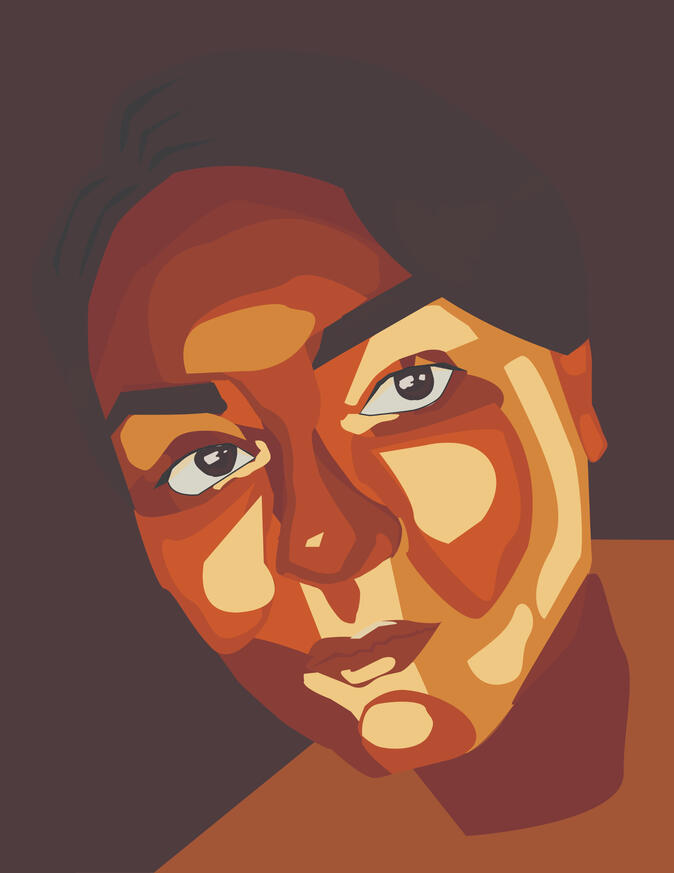
The Colors of Revenge
Illustrator
I used the pen tool and colors from a color palette made with a screenshotted scene in Blue Eye Samurai on Netflix. I followed the way light reflected on the face with different orange to create a face that looked like it had light with just monochromatic colors.
Drawing I
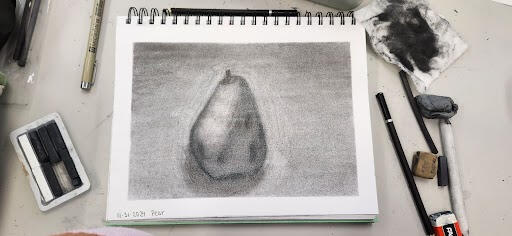
Charcoal Pear
Vine charcoal, hard charcoal, charcoal pencil on 9 x 11 sketchbook paper
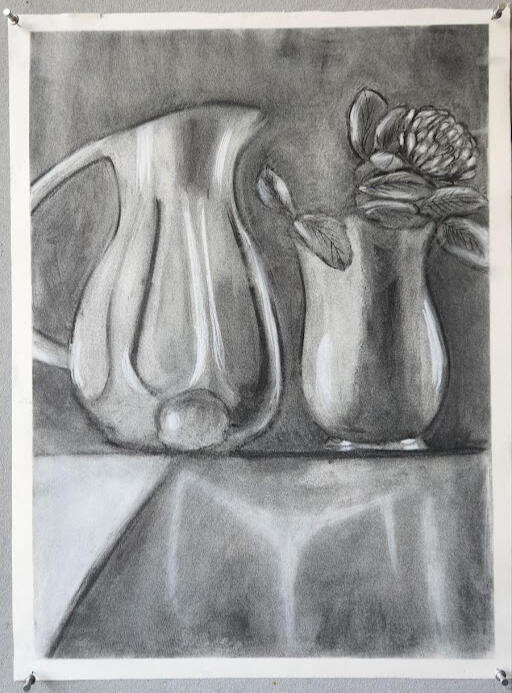
Still Life
Vine charcoal, hard charcoal, charcoal pencil, white charcoal on 18 x 24 drawing paper
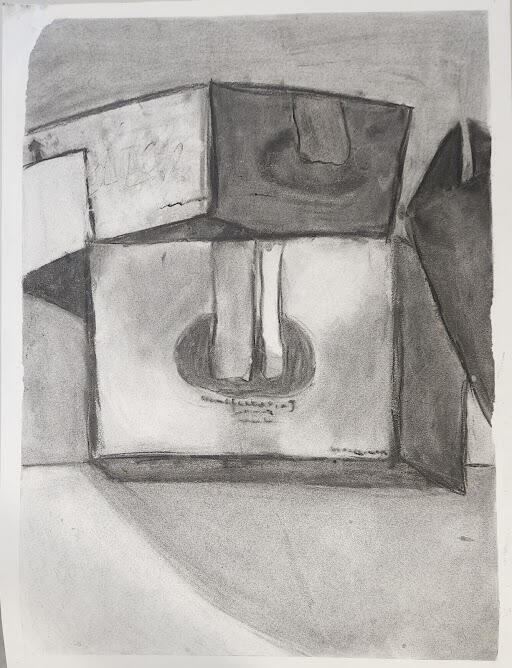
Cartoon Boxes
Vine charcoal, hard charcoal, charcoal pencil 18 x 24 drawing paper
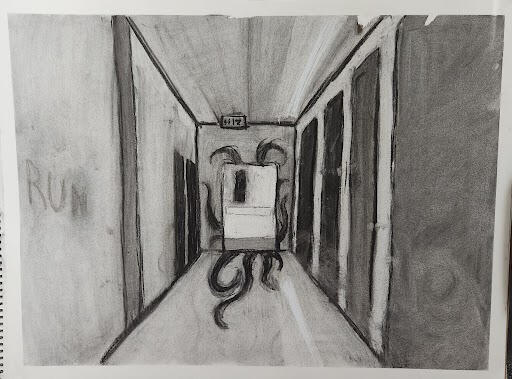
RUN
Vine charcoal on 18 x 24 drawing paper
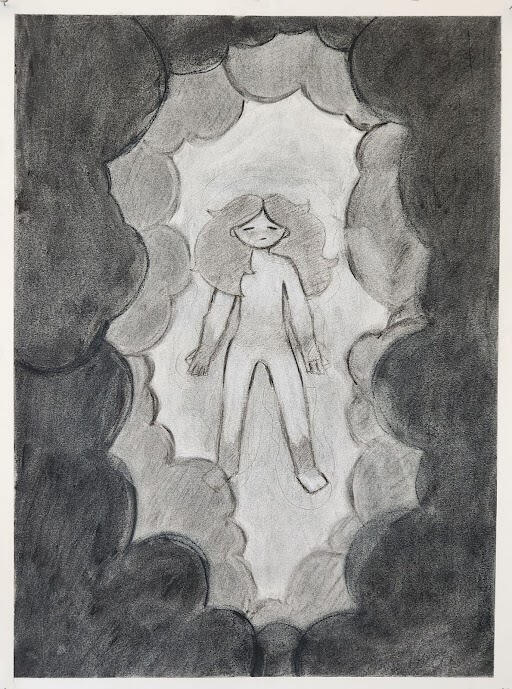
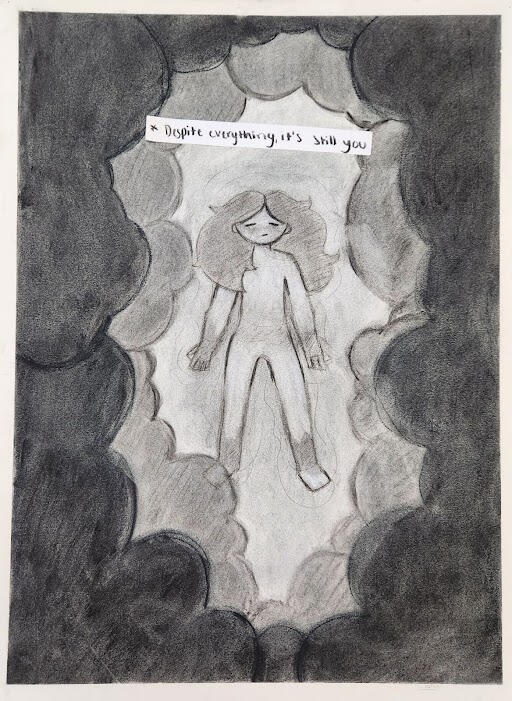
Despite Everything it's Still You
Vine charcoal, hard charcoal, collaged sketch paper on 18 x 24 drawing paper
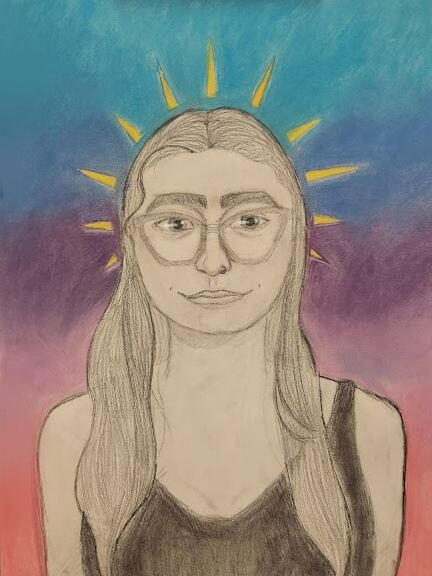
Sunshine Smile
Pencil, charcoal pencil, soft pastel, white ink pen on 18 x 24 drawing paper
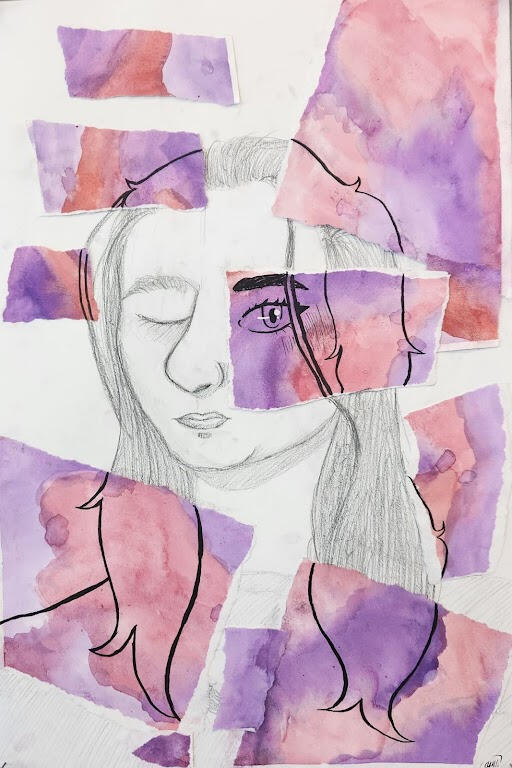
The Inside View
watercolor, ink, pencil, collage, on 12.5 x 18 mixed media paper